Send one-off emails to your customers using Blue Odin Campaigns.
It’s perfect for letting them know about:
- your latest product,
- an upcoming sale, or
- just to say “Hi!” to them every once in a while.
Important Note:
You must authorize Blue Odin to send emails on your organization’s behalf.
Here’s our guide on how to add Blue Odin to your domain’s TXT SPF record.
How to create Blue Odin Campaigns?
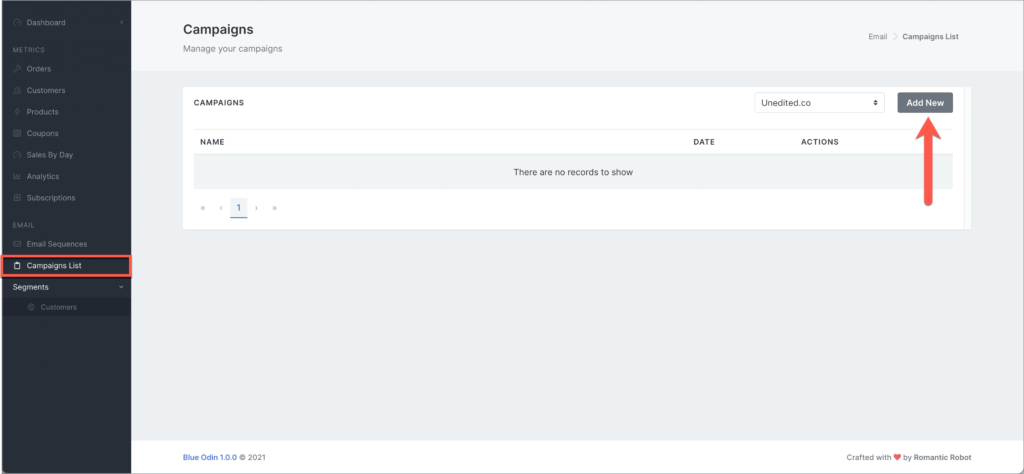
1. To add a new email campaign, go to Email > Campaigns List.
2. Select the WooCommerce Site in the site selector and click on the Add New button.
3. This is the Email Campaign settings page:
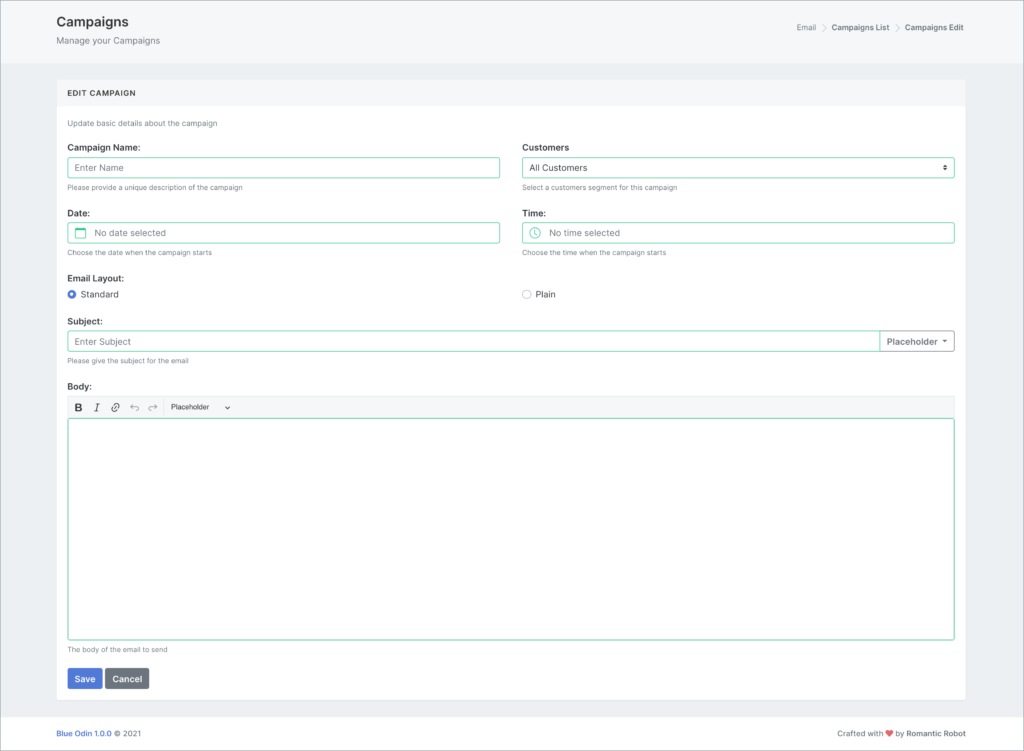
You can edit the following settings:
Campaign name
Give your campaign a name (be as descriptive and specific as possible).
Customers
Select the Customer Segment you’d like to use for the campaign.
Note: If you haven’t created a Customer Segment yet, check out this guide on How To Add Customer Segments in Blue Odin.
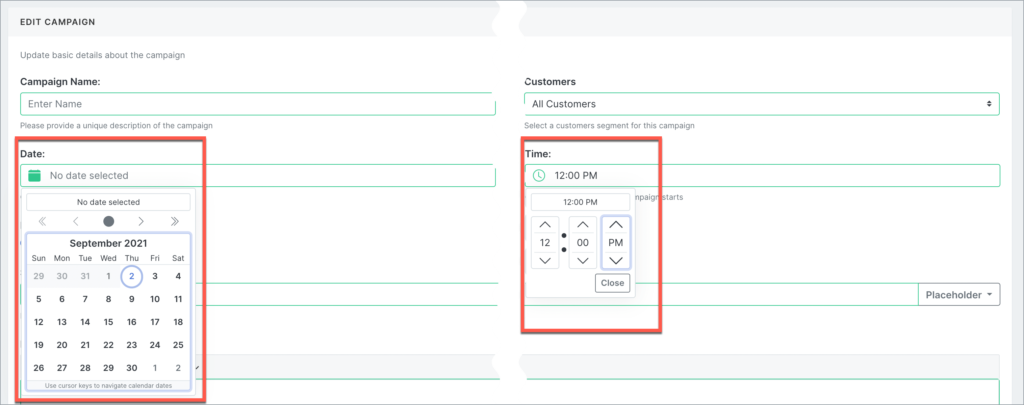
Date
Select the date when you’d like the campaign sent out.
Time
Select a specific time of day to send out the campaign.
Email layout
Choose between Standard or Plain.
Subject
Type your email subject line here (you can also use placeholders).
Body of the email
Your email’s main message (you can format the text and add placeholders, too).
Click on Save to save your changes.
What are the email placeholders available in Blue Odin?
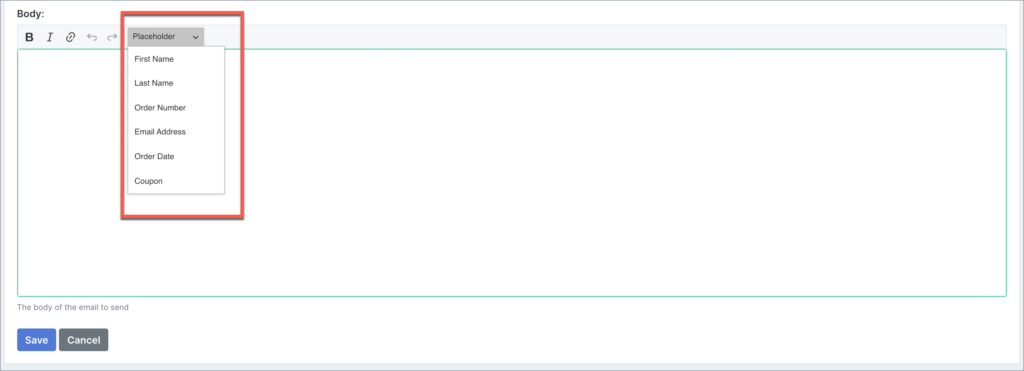
You can choose from 6 different placeholders:
- First name
- Last name
- Order Number
- Email Address
- Order Date
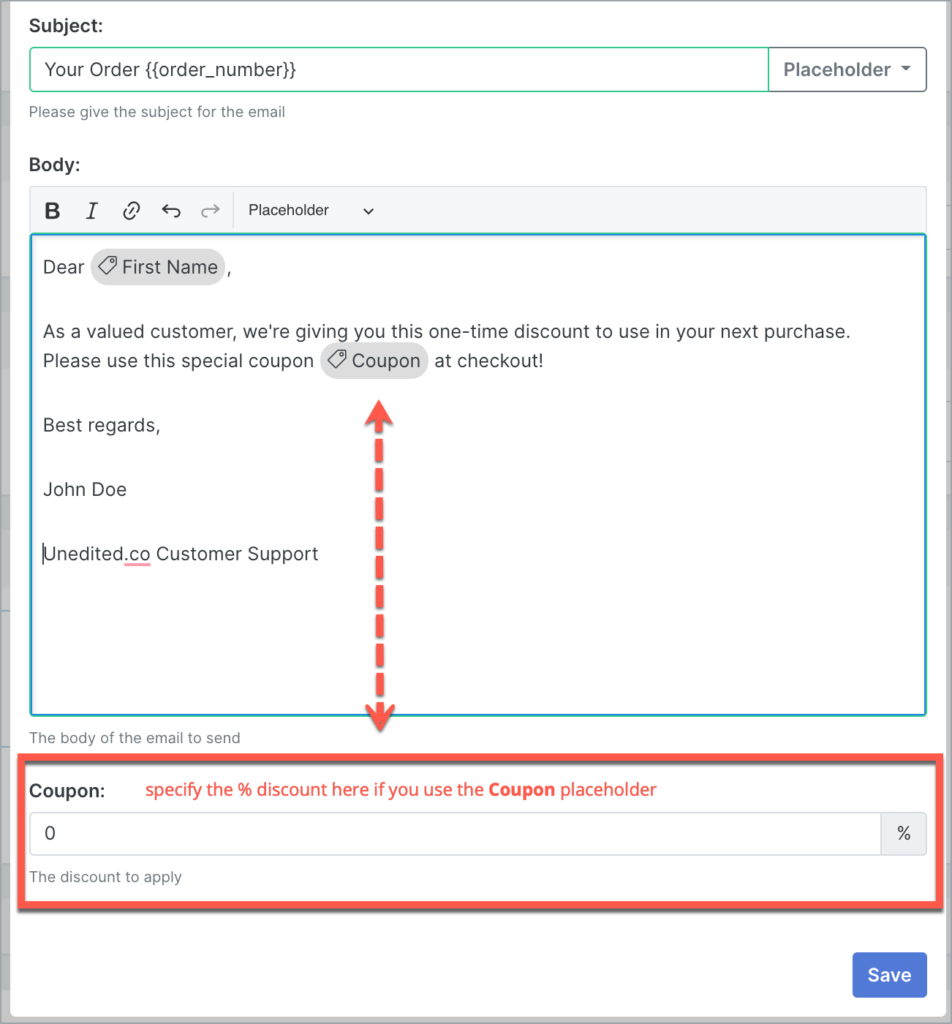
- Coupon
The value for the first 5 placeholders is predefined in WooCommerce.
For the Coupon placeholder, however, you will have to specify the % discount to apply.
Here’s what it looks like: